Building your shuffleboard court is fun, but it needs special skills and might be something other than your Do-it-yourself task. Building your court in your backyard will be a lifelong entertainment opportunity, bringing in friends and family members for friendly competitions and holiday pastimes.
Building a shuffleboard court requires special knowledge and skills to prepare the ground, frame, and concrete leveling. If you are not skilled in these things, you may need professionals to help you build your court. This guide will help you in making your shuffleboard court.
- Area Preparation
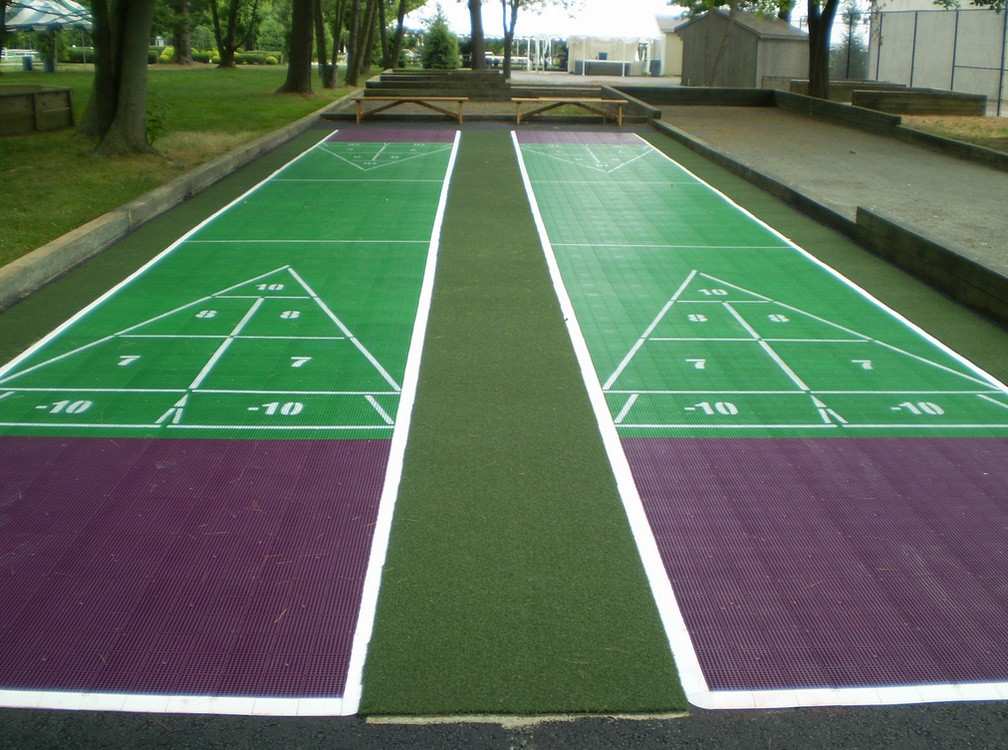
Preparing the area for the shuffleboard court is the first step in making a shuffleboard court. Remember, official shuffleboard courts are 52′ long and 6′ wide, but you can have your dimensions depending on your available area. It would help if you had extra ground for players on each side of the court. Cut the grass and dig some soil (2-4″). The soil must be well-drained and pressed so the concrete doesn’t sit down.
- Framing the Court
A robust and well-balanced frame is important for the shuffleboard court to stand long. If you are not used to framing, hiring or consulting a professional is better, as framing will play an essential role in a balanced and robust court that stays long. The frame must be tied together strongly so that it does not get lost during concrete.
- Pouring Concrete
Pour concrete suitable for outdoor conditions; consult a professional if you are new to concrete. Apply strong concrete to avoid cracks and damage to the surface. Make sure to fill in the gaps properly so that it does not sit over time. Apply water to the surface regularly to keep it moist and avoid cracks.
- Leveling the Surface
Start leveling concrete with the help of a large trowel. Again, if you are not a pro at leveling surfaces, you’d better ask for help from a friend or professional assistance. Leveling the surface is very crucial for a better playing experience. If the concrete is not flat and properly leveled, the weights will not reach or fall to the desired destination.
- Drawing Scoring Zones
Coat the concrete with the paint designed for outdoor surfaces. Let it dry, draw lines on the sides, and mark scoring zones. Lines and the base coat must be of different colors for clear visibility of the scoring zones.
- Collect Tools
Invite friends or family members, gather shuffleboard tools such as cues, weights, pucks, and discs, wax, and score recording system, wax the court, and start enjoying shuffleboard.
- Conclusion
Making shuffleboard court might only be a do-it-yourself project if you are used to it; hiring professionals for this task is better. However, if you want to make a shuffleboard court by yourself, the above guide will help you make it very easy.